Network simulator (NS) comes in different versions such as NS, NS-2, and NS-3 (with the SDLC being comparable to Python 2 and Python 3). This thread is focused on the sequential steps (mostly terminal commands) to be taken in order to get the most recent software (ns-3) installed on your local Linux Machine.
NS-2 Installation
If for some reason whatsoever, you’d like to install ns-2 instead (as it’s still not commercially outdated, just like I hinted about Python 2 support above) then don’t worry, I made a detailed guide about NS-2 installation uploaded to GitHub as a pdf, which you can find here.
NS-3 Installation
Open your terminal and follow the steps below:
- Start by updating your current packages with
$ sudo apt-get update. - Now there are a set of packages you’ll need to install as pre-requisites, depending upon your requirements (C++/Python for instance). Run
$ sudo apt-get install gcc g++ python python-dev mercurial bzr gdb valgrind gsl-bin libgsl23 libgslcblas0:i386 libgsl23:i386 libgslcblas0 flex bison tcpdump sqlite sqlite3 libsqlite3-dev libxml2 libxml2-dev libgtk2.0-0 libgtk2.0-dev uncrustify doxygen graphviz imagemagick texlive texlive-latex-extra texlive-generic-extra texlive-generic-recommended texinfo dia texlive texlive-latex-extra texlive-extra-utils texlive-generic-recommended texi2html python-pygraphviz python-kiwi python-pygoocanvas libgoocanvas-dev python-pygccxml, which will install the required dependencies + some extra packages which can be cut-off or more can be added to this list, as flexible as it can get depending upon your requirement.

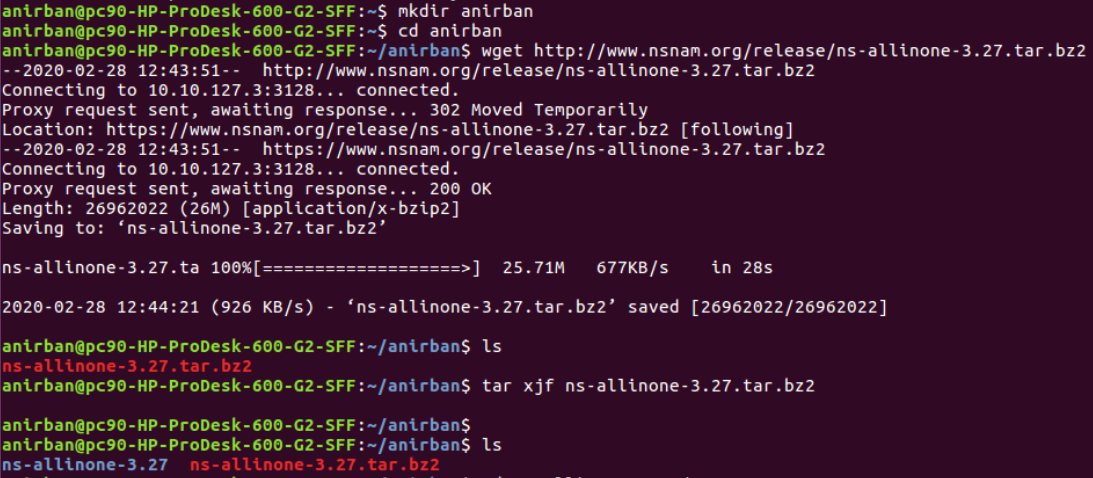
- Next up, you’ll need to download the ns3 package from http://www.nsnam.org/, but before proceeding to that, create a folder with a name of your choice with
mkdir yournameand move to that usingcd yourname. Now that you’re inside it, download it usingwget http://www.nsnam.org/release/ns-allinone-3.27.tar.bz2. (Note that am installing ns-3.27 ; If you want a different version like 3.30 then just replace the numbers in this step) After downloading, extract it usingtar xjf ns-allinone-3.27.tar.bz2. You can uselscommand to ensure your extracting in the right place before and after extracting, as shown below:
- Head inside the extracted folder
ns-allinone-3.27shown above by usingcd. Uselsto browse its contents - you’ll see a python file by the name ofbuild. To install all the components along with ns-3, we need to run thisbuild.pyscript, for which you can use./build.py --enable-examples --enable-tests, with enabled tests and examples, as evident from the command.


- After the installation is complete, you’ll get this screen:
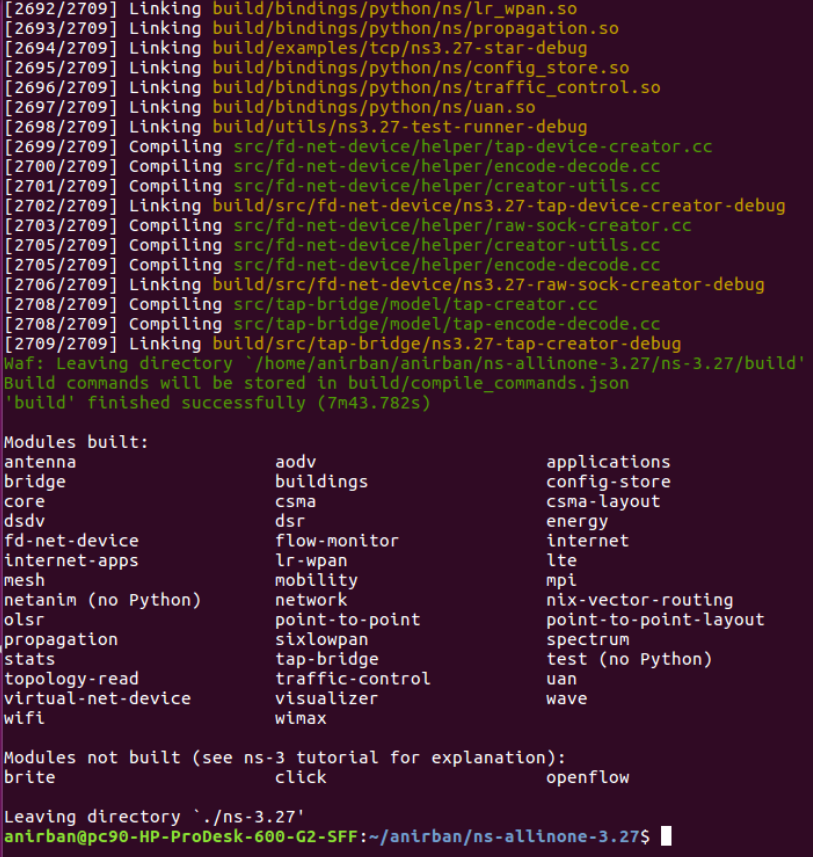
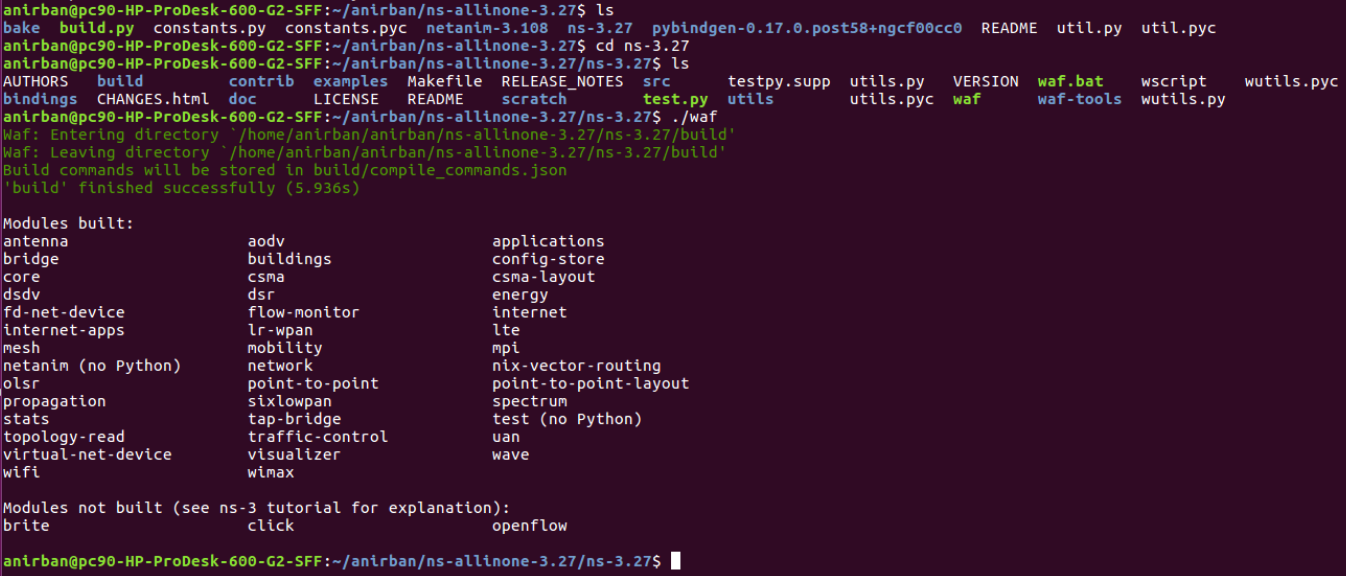
- Now move inside your ns folder (typically following a naming convention of
ns-version) inside the installed directory usingcd. (uselsto spot it among the contents) Once inside, type./waf(uselsagain if required) to compile and build ns-3. You’ll observe two subsequent statements indicating Waf entering and leaving your build directory. After a successful build, a'build' successfully finished (time in seconds)statement will pop up, indicating a successful installation for ns-3.
Creating your first NS3 program
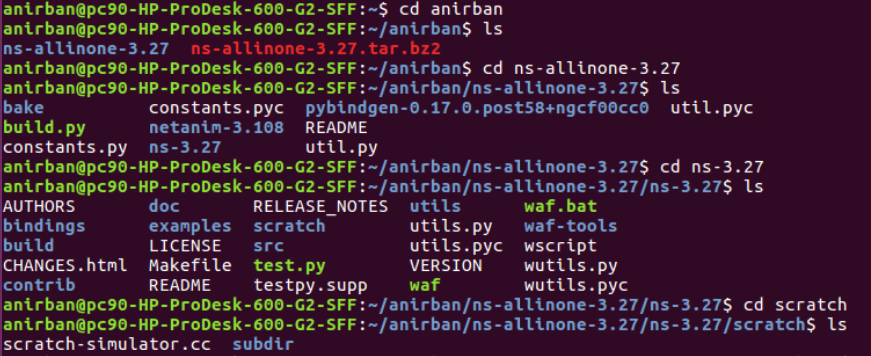
- Get inside the folder where you installed NS3.
- Navigate to
ns-allinone-3.27/ns-3.27/scratch(for ns-3.27 version) usingcdandlsas in when required. - You’ll see a
scratch-simulator.ccfile. Inside this scratch workspace, you can create your own.ccsuffixed (extension pertains to a C++ file) NS3 programs.
- Create a file via gedit with a name of your choice, and follow up with the
.ccextension. - Here’s a typical beginner program for you to Ctrl+C
andCtrl+V`:
#include "ns3/core-module.h"
using namespace ns3;
NS_LOG_COMPONENT_DEFINE("HelloNS3");
int main(int argc, char *argv[])
{
  NS_LOG_UNCOND("HelloNS3"); // In context to "Hello world" :3
}
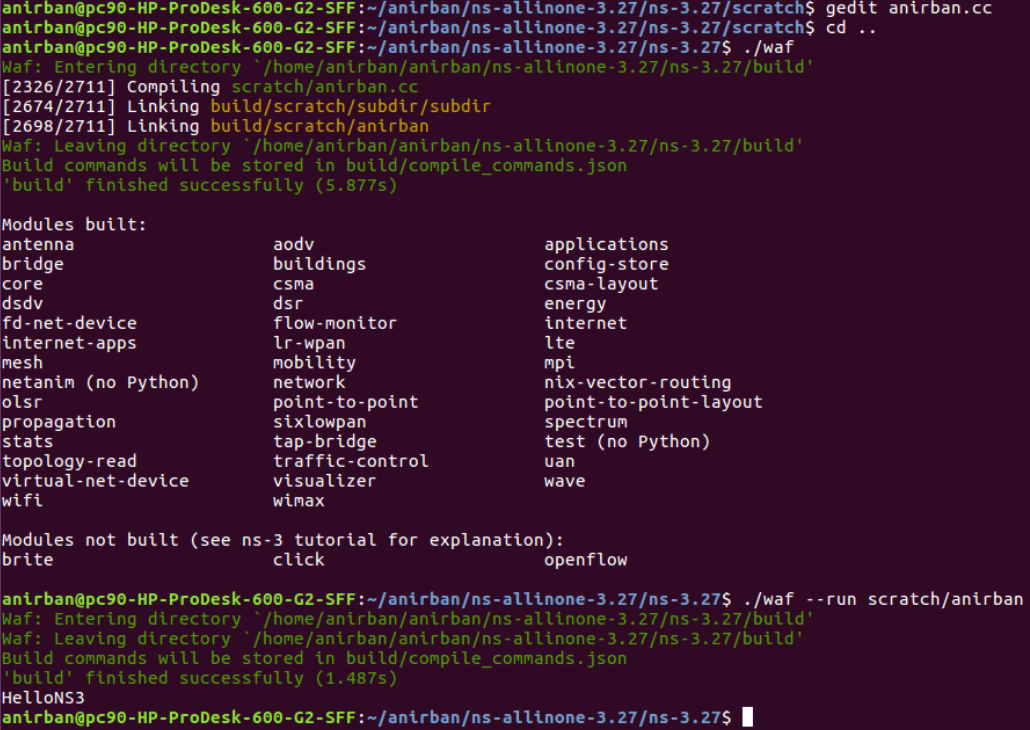
- After saving your program/file, head back to the
ns-3.27/directory usingcd ... (one step back from/scratch) - Run
./wafto check if your file is compiled and linked successfully. - Finally, type
.waf --run scratch/yourfilename.ccto execute your program.
| Anirban | 05/02/20 |